Sunday, October 21, 2012

Mashed Potato and Kale Pancakes

I cannot believe it has been more than 2 months since I posted something. Especially because last time, I promised I would be better about posting. Lots has happened in the past two months. I got married (yah!) I turned 29 (not sure how I feel about this one), the hubster (I'm still getting used to saying husband, but I like it! I really do) and I are settling into married life and exploring our new city, Portland. So with all these new and exciting things happening, and it being the last year of my twenties, I was inspired by my good friend, Morgan (Hi Morgan!) to make a list of 30 things to do before I turn 30! Guess what topped that list? Committing to posting at least 3 times a month (or MORE!) on this little adventure of a food blog. I'm going to try, really really really hard. We'll see how well I do and please feel free to hold me accountable. 

And for those of you who might be thinking, how hard is it to take a picture of what you're cooking, you're right! And, I promise I'm not starving my new husband to death either. I'm trying really hard to be a good little wife (hehehe!) and make him healthy, wholesome, delicious dinners on a somewhat regular basis. 

One of the really cool things about Portland, is that there are tons of local farms in the area, and lots of grocery stores, co-ops and food delivery services that are available to help you get easy, inexpensive access to all of the yummy produce! The other day, I received my first box of local produce from "Organics to You." It was awesome! Full of tons of seasonal fruits and veggies that I can't wait to try out. It also forced me to do a little experimenting with different veggies that, I'm sorry to say, I've never actually tried (sorry kale, I've found you and now  I love you and I promise I'll eat you all the time). 
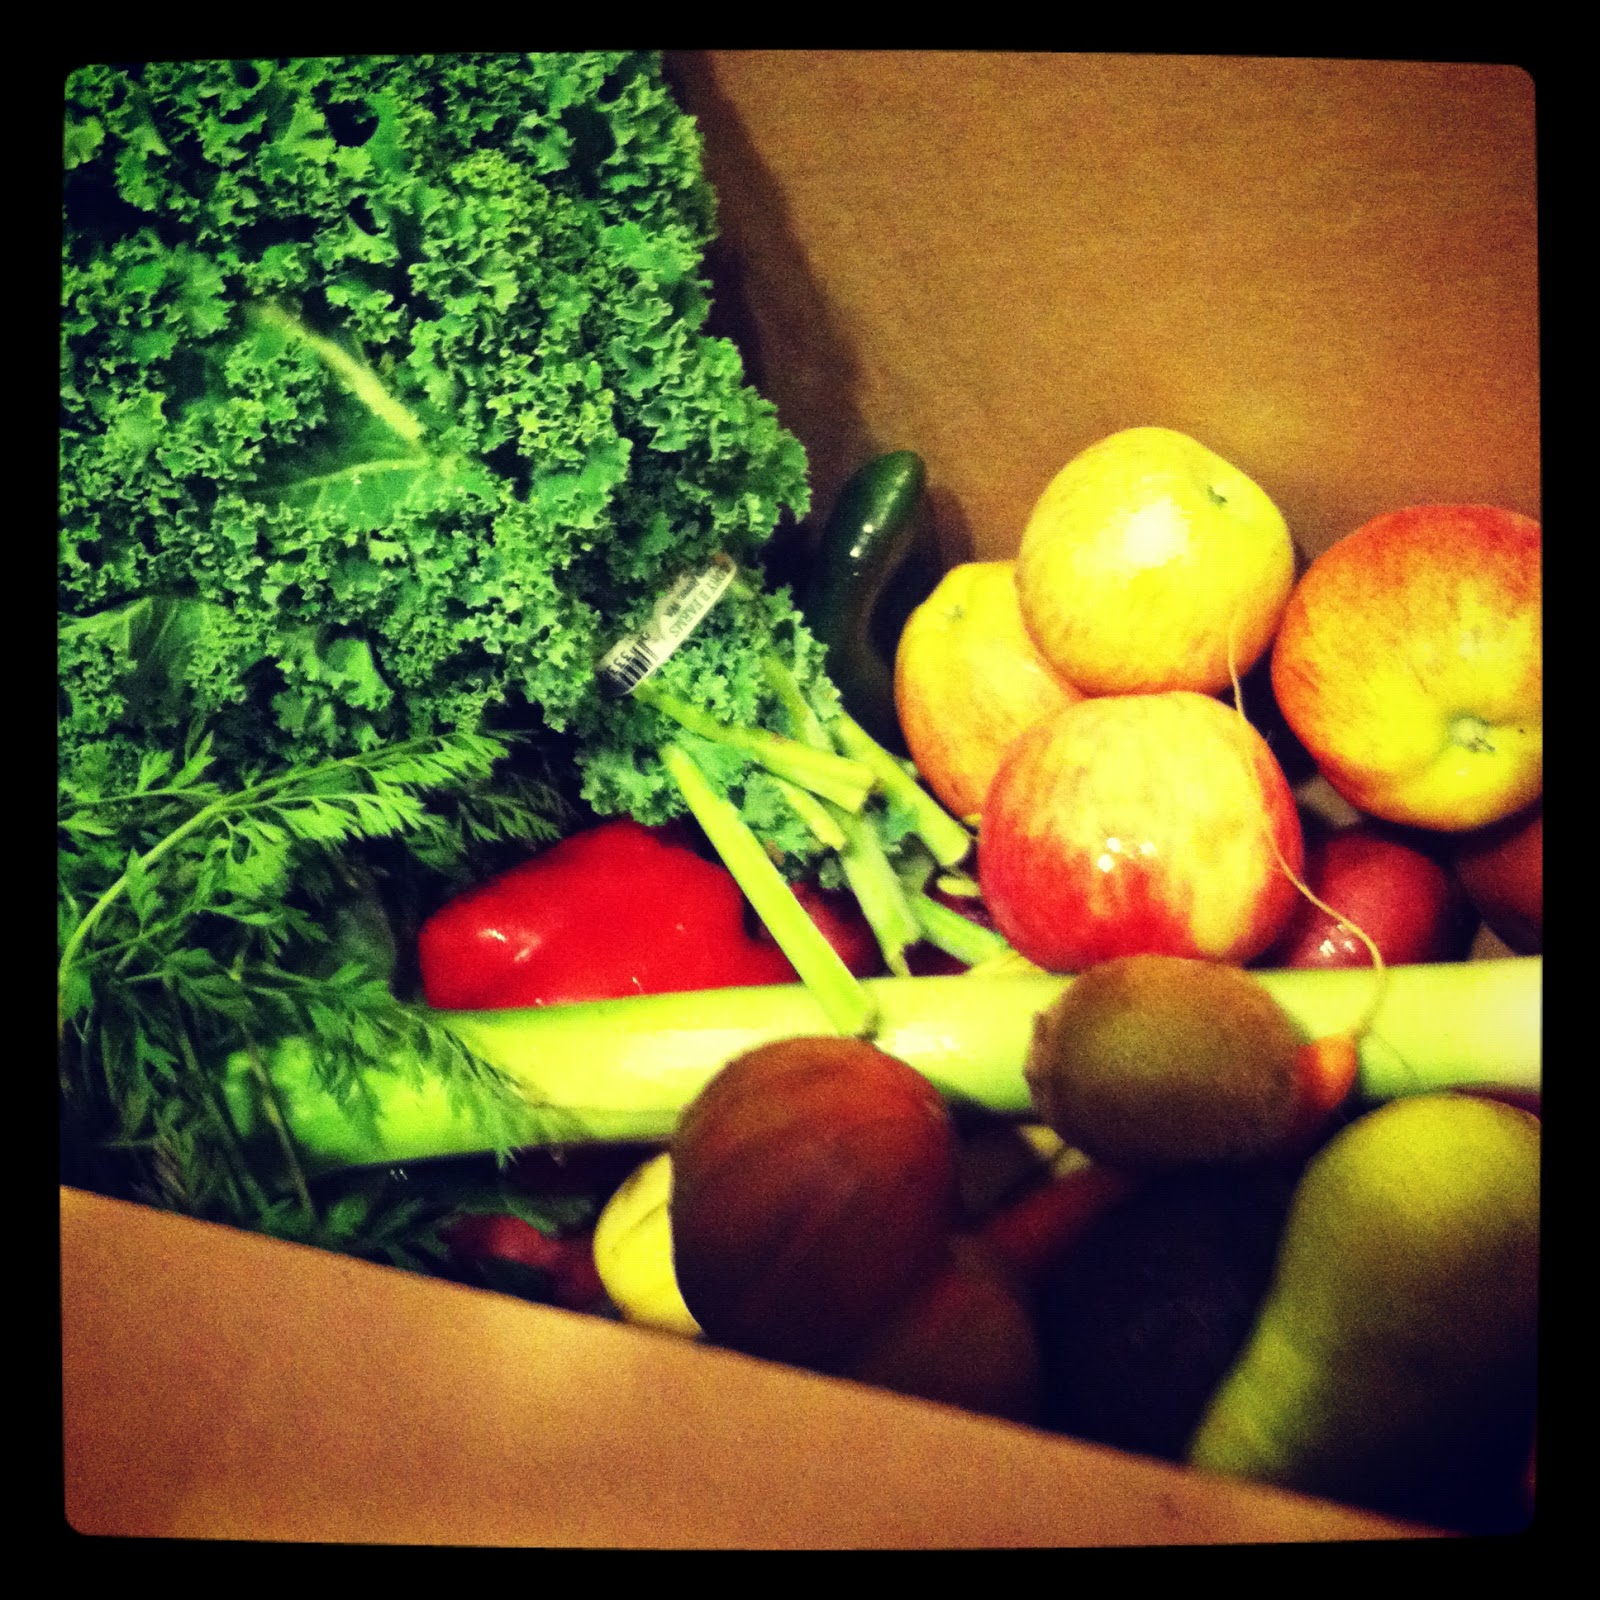


This wonderful little delivery forced me to look up and research all kinds of recipes that use Kale, a leafy green, that I'm sorry to say, I had never tried before until this past week. I found an awesome recipe for Mashed Potatoe and Kale Pancakes from Bon Appetite and it was AMAZING. The hubby like them too, so it was a double win! I'm also excited to say that there is a bunch of Kale left over so I get to try out and experiment with it a little bit more. Look for more kale recipes soon, but first, you must go make these. They were delish!


Mashed Potato and Kale Pancakes
1 1/2 pounds unpeeled russet potatoes, scrubbed, cut into 1-inch cubes
1/4 cup plain yogurt
2 tablespoons (1/4 stick) unsalted butter
1/2 teaspoon coarse kosher salt
1/2 teaspoon freshly ground black pepper
3 1/2 tablespoons extra-virgin olive oil
1 cup chopped onion
1 large garlic cloves, finely chopped
1/2 pound kale, center rib and stem cut from each leaf, leaves coarsely chopped
1 tablespoon chopped fresh thyme
1/8 teaspoon ground nutmeg


Cook potatoes in large saucepan of boiling salted water until tender, about 25 minutes. Drain; return potatoes to same saucepan. Add yogurt and butter. Mash potatoes (with peel) until smooth. Season with 1/2 teaspoon coarse salt and 1/2 teaspoon pepper. Transfer mashed potatoes to large bowl and cool.


Heat 11/2 tablespoons oil in large deep skillet over medium heat. Add onion and garlic. Sauté until onion softens, about 5 minutes. Increase heat to medium-high. Add kale and thyme. 


Toss until kale wilts, about 5 minutes. Add kale mixture, 1/2 teaspoon coarse salt, 1/2 teaspoon pepper, and nutmeg to potatoes; blend. Cool potato mixture 30 minutes.
Shape potato mixture by 1/4 cupfuls into 1/2-inch-thick patties. Arrange on rimmed baking sheet. 


Heat 2 tablespoons oil in large nonstick skillet over medium-high heat. Add cakes and cook, without moving, until cakes are brown and crispy on bottom, 3 to 4 minutes. Carefully turn cakes over. Cook until brown on bottom, 2 to 3 minutes longer. Transfer to plates. 


Thursday, August 30, 2012

Blueberry White Chocolate Chip Waffles

I cannot wait to tell you what I made for breakfast probably one too many weekends ago (things get a little crazy one month before your wedding and all the time you thought you had, magically disappears). So I can only apologize that I didn't share this earlier, because, well, they're pretty amazing.


 Blueberrry. White Chocolate. Homemade. Waffles. These are so delicious and make Sunday morning so much better! And if you have leftovers, like I did, they make having to go back to work on Monday not so bad either. 


And I can even claim that they're somewhat healthy because I made whole wheat waffle batter and blueberries are fruit, so adding that secretly little extra delicious ingredient that is white chocolate chips into the mix is really not so bad, right? I'll keep telling myself that, you can do the same if you choose!


So please please please make these this Labor Day weekend. I mean you have an extra day to sleep in and to enjoy them, so there's really no excuse! 


Blueberry White Chocolate Waffles

1 cup whole wheat flour

1/4 cup sugar
1 tsp baking powder
1/2 tsp baking soda
1/4 tsp salt
1 tbls melted butter
1 egg
1/2 tsp vanilla
3/4 cup butter milk (ifyou don't have any, buttermilk is super easy to make it's just 1 tblsp vinegar to one cup milk, let sit for 5 min and woila!)
1/4 cup white chocolate chips

1/2 cup fresh blueberries

Saturday, August 11, 2012

Oatmeal Chocolate Chip Cookies

Do I have a weekend recipe for you! One of my favorite things about the weekends is that there's more time to cook and bake those recipes that aren't super quick for weeknight meal. I do most of my baking on the weekends, because really who wants to come home from working all day to spend another several hours in your kitchen. NOT ME! 

That being said, I love being in my kitchen, trying out new recipes, baking cookies, whipping up a super easy and quick dinner. And nothing makes a house smell like a home, then homemade cookies. 


I told you we recently moved to Portland. We are LOVING it by the way, and one way I tried to make our new house feel like home is to whip up a batch of these delicious oatmeal chocolate chip cookies. I tell myself they're healthy because they have Oatmeal and Whole Wheat Flour in them...and I used semi-sweet chocolate, and chocolate is good for you too! 

These are delicious, soft and chewy on the inside and just a little crunchy on the outside, and if you're feeling a little dangerous, try sprinkling a little sea salt on top of one, but just a dash. It will make your mouth water!


Enjoy!

Chocolate Chip Oatmeal Cookies

8 tablespoons unsalted butter, at room temperature
1 cup sugar
3/4 cup dark brown sugar, firmly packed
1 teaspoon salt
1 teaspoon vanilla extract
2 large eggs
1 1/2 cups wheat flour
1 teaspoon baking soda
1/2 teaspoon ground cinnamon
1/4 teaspoon ground allspice
1/8 teaspoon ground clove
1 cup oats
12 ounces semisweet chocolate chips

Preheat oven to 350°F.  Beat the butter in a bowl until light and fluffy. Add both sugars, salt, and vanilla, and beat until well mixed, about three minutes. Stir in eggs, one at a time. Mix together the flour, baking soda, cinnamon, allspice, and clove in a separate bowl. Add half of the flour mixture to the butter with the mixer on low speed. Once the flour has been incorporated, add the second half. Stir in the oats and chocolate chips. 

Place balls of cookie dough on a baking sheet and cook in the oven 10-12 minutes. 

Wednesday, July 25, 2012

Grilled BBQ Flatbreads

I told you this one was coming when I wrote about these little guys earlier this week. This is the perfect go to dinner idea when you’re in need of a last minute, throw it together meal. These flat breads take less than 5 minutes (ok, maybe 15 with assembly time) and are so delicious, I promise you’ll want to eat them again and again and again.

Have you ever had BBQ pizza? It is AMAZING. This is a quick spin on BBQ pizza and it’s so light and crispy and delicious it makes the perfect summer dinner (along with a glass of vino of course!) I picked up some flatbreads from my local Trader Joe’s and I’m particularly a fan of Lavash Bread but you can use any kind of flatbread (or make your own pizza crust) and I’m sure it will be just as good. Then, here’s the difficult part…you have to decide on what toppings to use! I know the choices are endless and sometimes it’s hard to pick just one, so of course I didn’t. I made 3 (YES 3) different kinds of flatbreads, and even though I should probably feel guilty for the amount of food this made, I can’t. They we’re all so delicious and if I had to do it over again, I’d probably make 5 next time. So there. ;)


 It’s this easy…turn your BBQ on. Lay the flat breads out. Top them with cheese and your choice of toppings, and throw them on the grill for 5 minutes (or just until the flatbreads start to brown and you know they’re getting crispy and the cheesy is getting melty and your mouth is watering.)

My toppings of choice included your basic go to mozzarella and pepperoni, a prosciutto, basil and mozzarella flatbread, and last but definitely not least, a mozzarella, basil and those delicious roasted cherry tomatoes we talked about the other day. (You can find the recipe here in case you forgot ;)). 


I hope you enjoy these flatbreads (and a glass of red wine!) as much as I did.


Tuesday, July 24, 2012

Roasted Cherry Tomatoes


It’s Tuesday, we’re not even half way through the work week and I’m really, really wishing it were Friday, (ahem, I mean Thursday, because this week Thursday is my Friday!) Why you ask? Lots of reasons! Thursday is my bridal shower! I’m so excited! Aaaand this weekend is my 10 year high school reunion (mixed feelings on this one and I’m sure you can imagine why ;)) and this Sunday, I’m moving to Portland! It’s finally here! Moving weekend. I am so excited!

As you can imagine this week is a busy one! So I was in need of a quick fix dinner idea. These roasted tomatoes are AMAZING and the grilled flatbreads (don’t worry this post is coming soon) I put them on top of are done in 5 minutes. YUP! 5 MINUTES!!! But, I must admit, I can’t take the credit for this one. My friend’s mom, and AMAZING cook gave me this idea from a dinner we had recently. 


The roasted tomatoes are so simple and add so much flavor to almost any dish imaginable. Need a quick bruschetta, roast up these tomatoes and spread them over some crostini with some goat cheese (delish!), cut up some mozzarella and basil and you’ve got a roasted tomato caprese salad, YUM! Or throw them on these super easy grilled flatbread pizza’s and have a dinner complete in less than 5 minutes (ok, maybe 15 minutes if you’re counting the time it takes to load up the flatbread with cheese, pepperoni, prosciutto or an assortment of other toppings you’d enjoy!)


Are you ready for the recipe? It’s crazy how simple it is. Throw a box of cherry tomatoes in a bowl. Mix with olive oil, sea salt, ground pepper and garlic. Throw them on a cookie sheet and bake for 20 minutes at 400 degrees (or until the tomatoes POP!) 


Roasted Cherry Tomatoes

1 lb cherry tomatoes
Good Olive Oil
Sea Salt
Black Pepper
Minced Garlic

Pre-heat over to 400 degrees. Mix tomatoes, olive oil, salt, pepper and garlic in a bowl till tomatoes are evenly coated. Put the tomatoes on a cookie sheet and bake for 20 minutes.

Sunday, July 8, 2012

Low Fat Blue Cheese Dressing

It's been a long time since I've posted anything. Life has been quite hectic lately. We're moving to Portland (yah!) and I may have mentioned, I'm getting married (double yah!). But all of these things happening at the same time, have led to a very busy last few months, and my poor foray into food blogging got pushed to the wayside. But, I'm back on track. I've got all sorts of recipes up my sleeve that I'm dying to try out and I have plenty of posts for the future. 

All that being said, I am trying to be healthier than I usually am. It is, after all summertime, and I do have to fit into a wedding dressin 11 weeks (wow 11 weeks!!!), so this is my first attempt at incorporating greek yogurt into my cooking. I've been hearing about the wonder that is greek yogurt for some time now, but haven't had the guts to try it out. Boy, I have been missing out! 


I have an obsession with blue cheese dressing. All my attempts at being healthy are often ruined by my obsession with blue cheese dressing. I'll try and be healthy and have a salad for lunch, but then drench the poor healthy beautiful green lettuce in blue cheese dressing. My healthy, low calorie lunch turns into a calorie-laden bowl of delicious blue cheese dressing. Carrots, let's dip those in blue cheese too. Celery, broccoli, peas, you name it...it all tastes so much yummier with blue cheese dressing. 


So my first attempt at merging my love of rich, delicious calorie laden food with greek yogurt had to come in the form of blue cheese dressing. I can't even begin to tell you how good it is. It doesn't taste low calorie at all! It still has all of the rich and intense flavors of blue cheese but without all those horrible calories. I am officially a fan of greek yogurt, especially if all those other substitutions I've been reading about turn out just as delicious as this. Apparently I can have my cake, (excuse me blue cheese dressing) and eat it too! 


I hope you enjoy it as much as I did! 

Low Fat Blue Cheese Dressing

1/2  Cup Crumbled Blue Cheese 
1 Cup Low Fat Greek Yogurt
Juice of 1 Lemon
2 Tblsp white vinegar
Black Pepper to Taste
Drizzle of Honey
1/2 Tsp Crushed Garlic

Directions

Combine blue cheese, yogurt, lemon juice and white vinegar in a food processor (or bowl) and mix thoroughly. Make sure the dressing tastes like blue cheese. Once thoroughly combined season with garlic and black pepper and drizzle a little bit of honey to sweeten slightly. 

If your dressing is too thick just add about a tablespoon of water to the dressing and continue to do so till you reach your desired consistency. Poor over salads, dip your veggies and enjoy! 


Tuesday, May 15, 2012

Irish Car Bomb Cupcakes...The Best Thing I Ever Ate


These are truly the best thing I’ve ever eaten in my entire life.


It was my dad’s birthday this past weekend, and I was searching for a creative new treat to bring to his Big Birthday BBQ Bash (say that 5 times fast – ha!). I turned, once again to Smitten Kitchen. She has yet to steer me wrong. I loved everything about what these cupcakes were. They’re Irish. My dad’s Irish. They have beer. My dad LOVES beer. They even have whiskey. What guy doesn’t like whiskey? They sounded like the perfect birthday treat!


What I hadn’t anticipated was that they would be so mouthwatering delicious. They truly were the best thing I’ve ever eaten in my entire life! And I don’t like beer or whiskey! (I know I can’t believe I’m part Irish, either!).


I veered off slightly from the recipe used on Smitten Kitchen, but not by much. I used an Irish Death Stout, instead of Guinness, Bushmills Irish Whiskey, instead of Jameson’s, and for the frosting, I used a White Chocolate Bailey’s Irish Cream, instead of your basic Irish Cream. They were so good and the only unfortunate thing is that they were all gone by Monday morning.


Luckily for me, I have another birthday BBQ to attend next week and guess what I’ll be bringing…

Irish Car Bomb Cupcakes


1 cup stout (I used an Irish Death)


1 cup (2 sticks) unsalted butter


3/4 cup unsweetened cocoa powder 


2 cups all purpose flour

2 cups sugar

1 1/2 teaspoons baking soda

3/4 teaspoon salt

2 large eggs

2/3 cup sour cream

Ganache Filling 

8 ounces bittersweet chocolate
2/3 cup heavy cream
2 tablespoons butter, room temperature
1 to 2 teaspoons Irish whiskey 

Baileys Frosting 

3 to 4 cups confections sugar

1 stick butter
3-4 tablespoons Baileys 

Preheat oven to 350°F. Line 24 cupcake cups with liners. Bring 1 cup stout and 1 cup butter to simmer in heavy large saucepan over medium heat. Add cocoa powder and whisk until mixture is smooth. Cool slightly.

Whisk flour, sugar, baking soda, and 3/4 teaspoon salt in large bowl to blend. Beat eggs and sour cream in another large bowl to blend. Add stout-chocolate mixture to egg mixture and beat just to combine. Add flour mixture and beat briefly on slow speed. 

Divide batter among cupcake liners, filling them 2/3 to 3/4 of the way. Bake cake until tester inserted into center comes out clean, about 17 minutes. Cool cupcakes on a rack completely.

For the filling: 

Chop the chocolate and transfer it to a heatproof bowl. Heat the cream until simmering and pour it over the chocolate. Let it sit for one minute and then stir until smooth. Fill the cupcakes. 

Make the frosting:

Whip the butter in the bowl of an electric mixer, or with a hand mixer, for several minutes.  Slowly add the powdered sugar, a few tablespoons at a time. Add the baileys and combine. 

Ice and decorate the cupcakes.